These easy Halloween Bath bombs are also perfect for ANY Disney fan! These easy bath bombs are one of my favorite Disney bath bombs and my kids LOVED making these Disney Maleficent Bath Bombs!
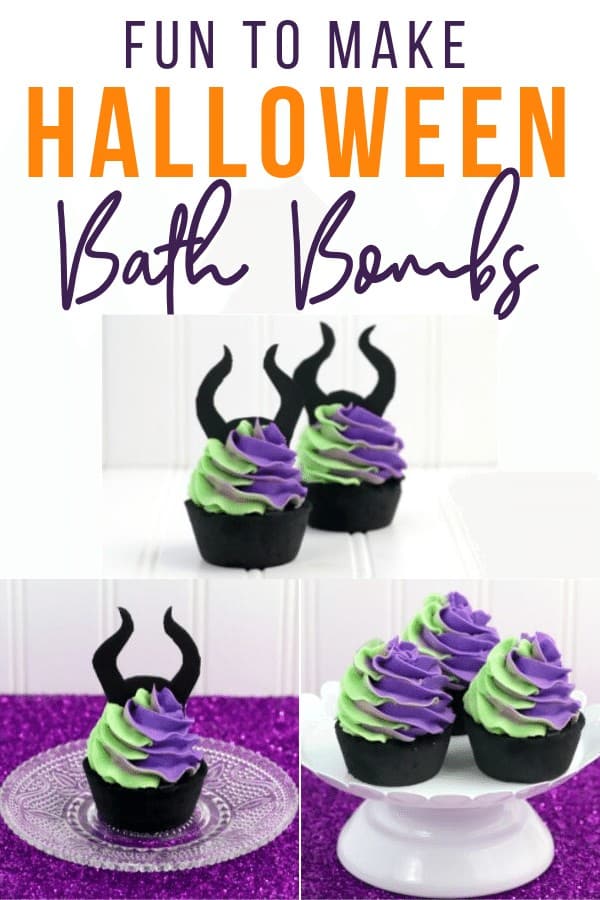
Easy Halloween Bath Bombs
Warning: I love Halloween so much that you may get sick of all of my Halloween posts. Yes, I’m starting them in July. It was tough to wait this long! I feel like Halloween should be a year round celebration. We should decorate our houses with pumpkins and goblins 365 days a year. Christmas? Halloween-ize it.
I have a black Christmas tree, so why not add some orange ornaments? I’m down! Anyway, that’s the disclaimer before we start talking about how to make these Halloween Bath Bombs. They’re pretty easy to make but require quite a few ingredients. Buy them in bulk on Amazon for the best price, and save them for later so you can make some more (like these glow in the dark bath bombs I made last week).
More Bath Bomb Recipes
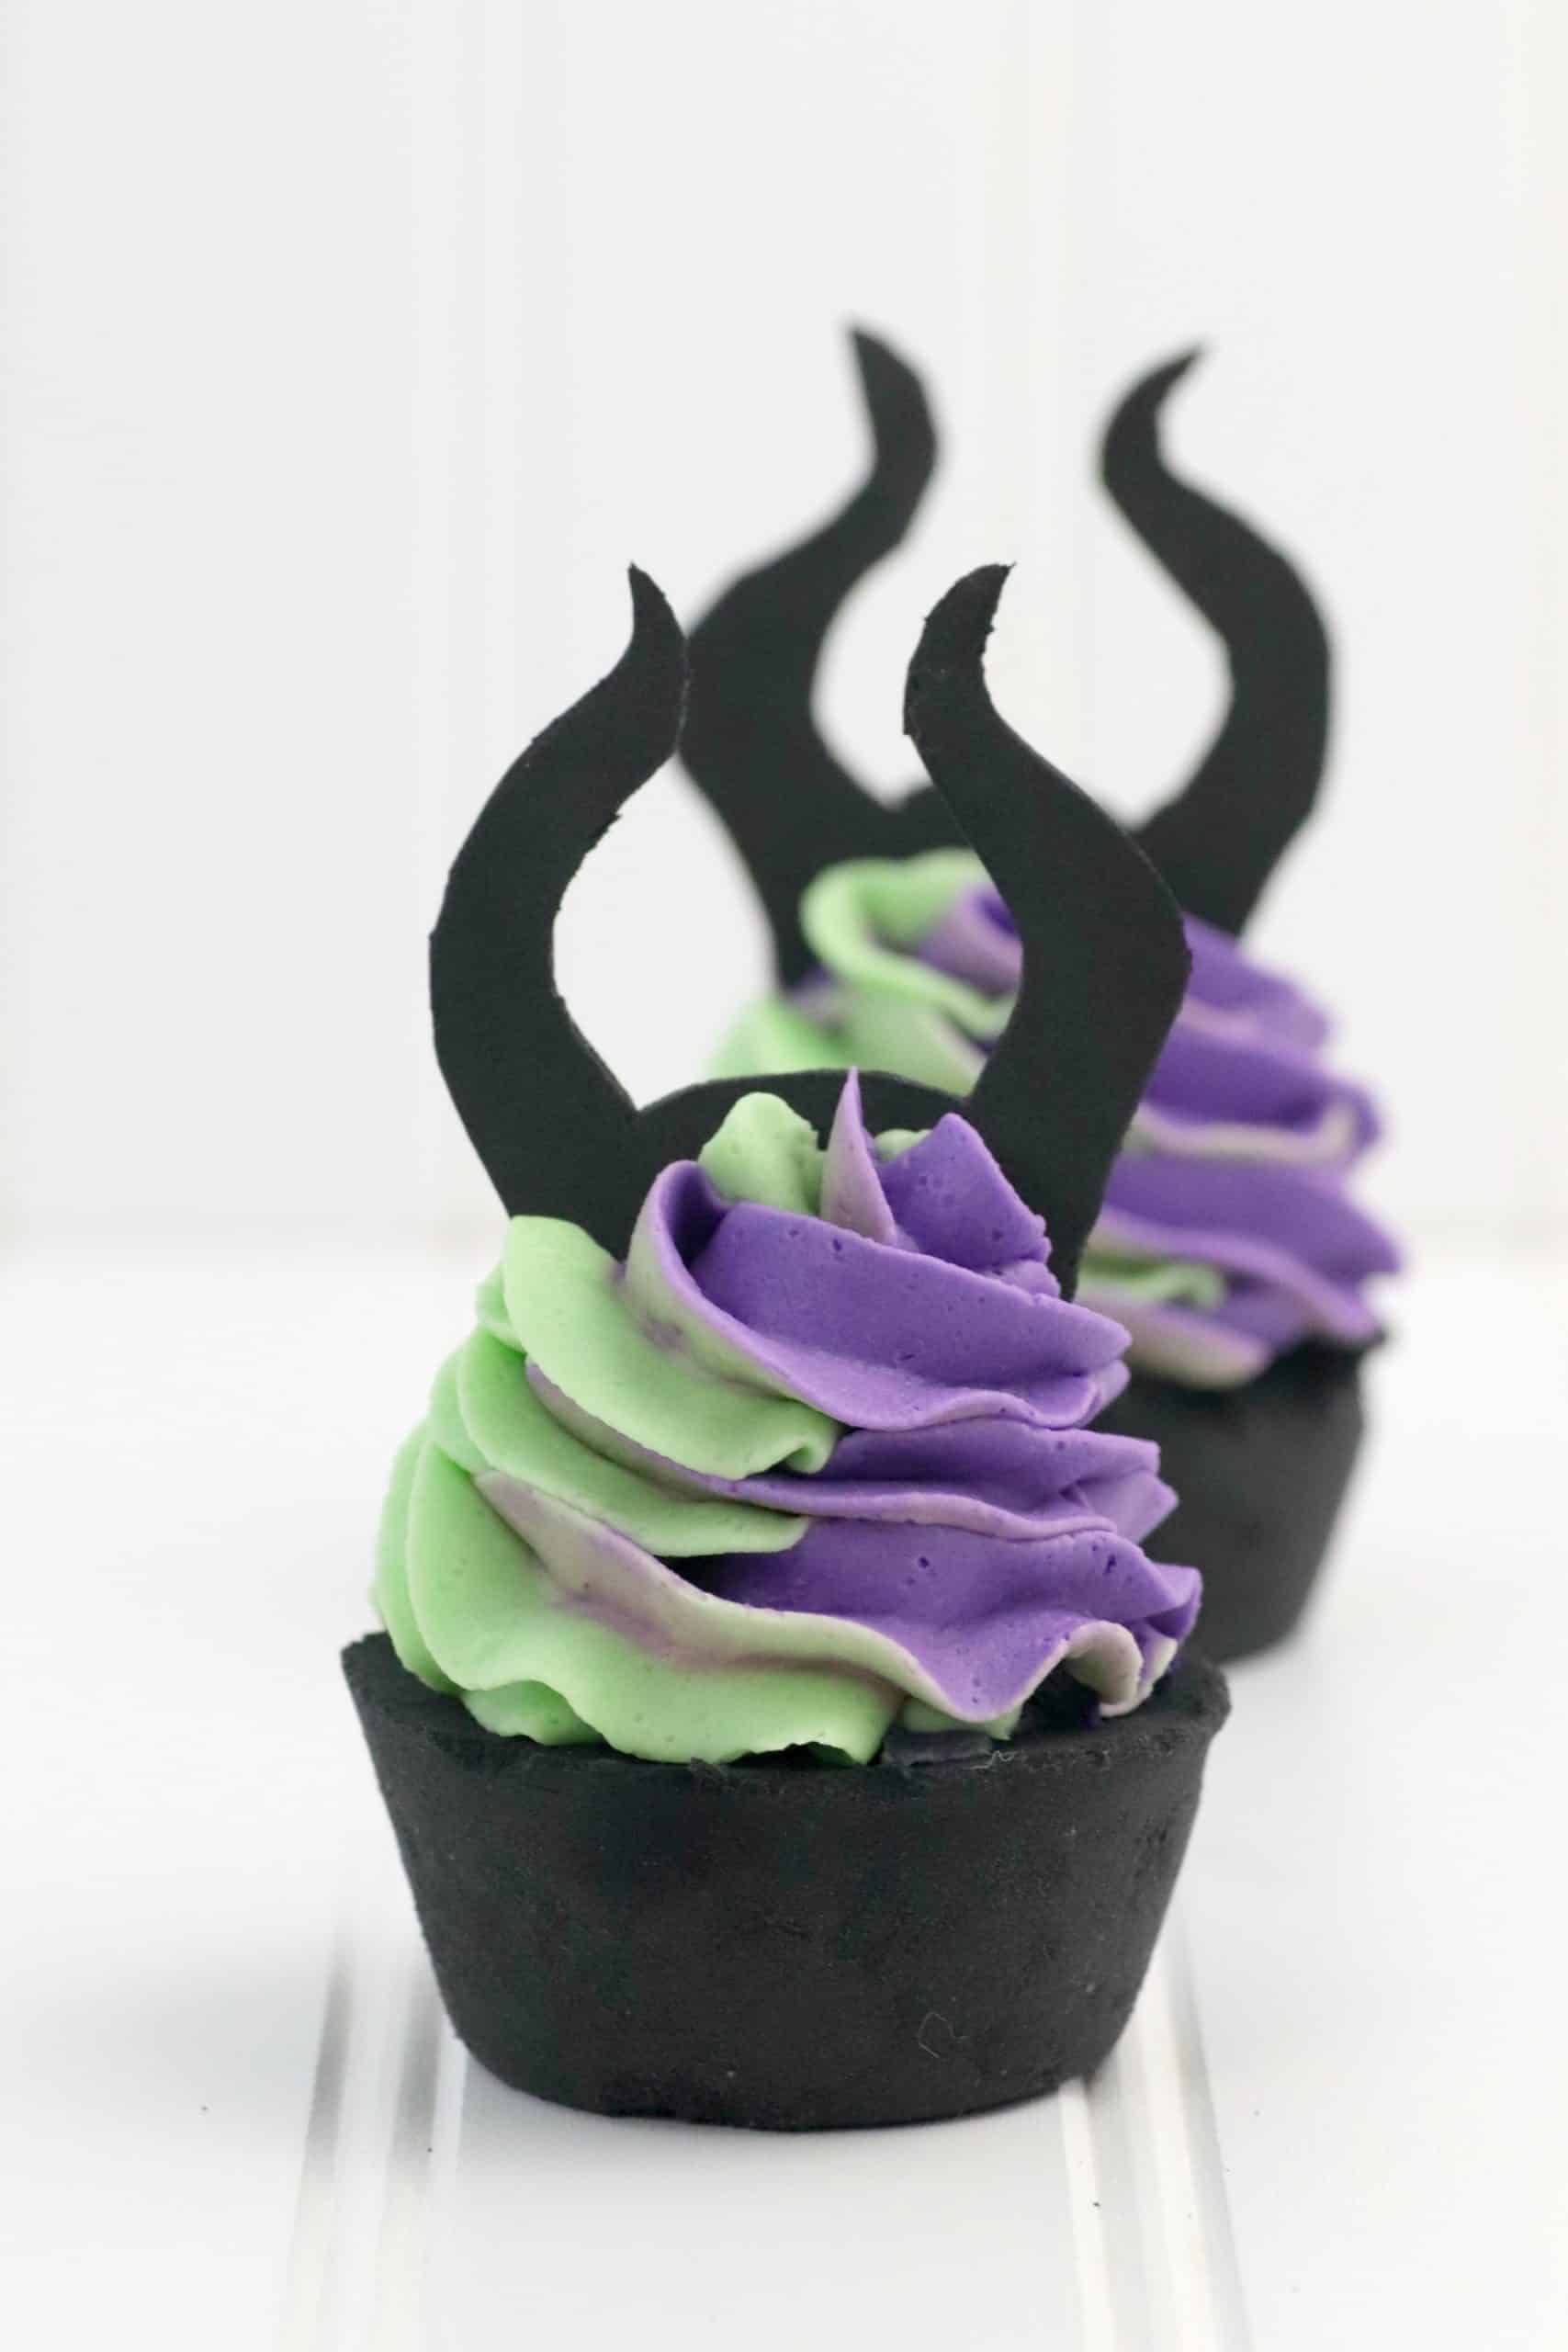
Maleficent Halloween Bath Bombs
I love a good crafting session, and I’ve been on a bath bomb kick lately. My youngest daughter loves Maleficent and was super impressed when she saw these! I hope you and your kiddos love them as well.
Benefits of Taking a Bath
When we bought this house, one of the selling points – besides the pool – was the huge bathtub. There are many therapeutic benefits of baths, and I enjoy every. single. one of them.
Baths soothe anxiety. Add some bath salts, a bath bomb, or even some essential oils, and make your bathroom an oasis of relaxation. There’s nothing better than coming home at the end of a long day, dropping all of my clothes to the floor, and sinking into a hot, aromatic bath. My mood is better almost instantly – and if I get 15 uninterrupted minutes in the bathtub, I’m in a great mood for the rest of the night (assuming the kids aren’t fighting… whew).
Hydrotherapy helps relieve spinal pain and discomfort. Not just spinal pain, either. When I soak in the tub, all of my pains melt away. I like really, really hot baths, but as long as the temperature in your bath is at least fairly warm, you’ll notice your pain easing almost instantly as you soak in the tub. Epsom salts are an excellent pain-relieving addition to any bath.
Warm baths help you sleep. Much like when my kids were babies and I had them on a bedtime routine, making a bedtime routine for myself has become crucial post thyroidectomy. A drop in body temperature at night is one sign for our body to know it’s time to start producing melatonin (the hormone that induces sleep). Soak in that warm (or hot) bath and take a few deep breaths, waiting for the relaxation to kick in. After your bath, listen to some nice, soothing music (or rain and thunder sounds like I do) until it’s time to go to sleep.
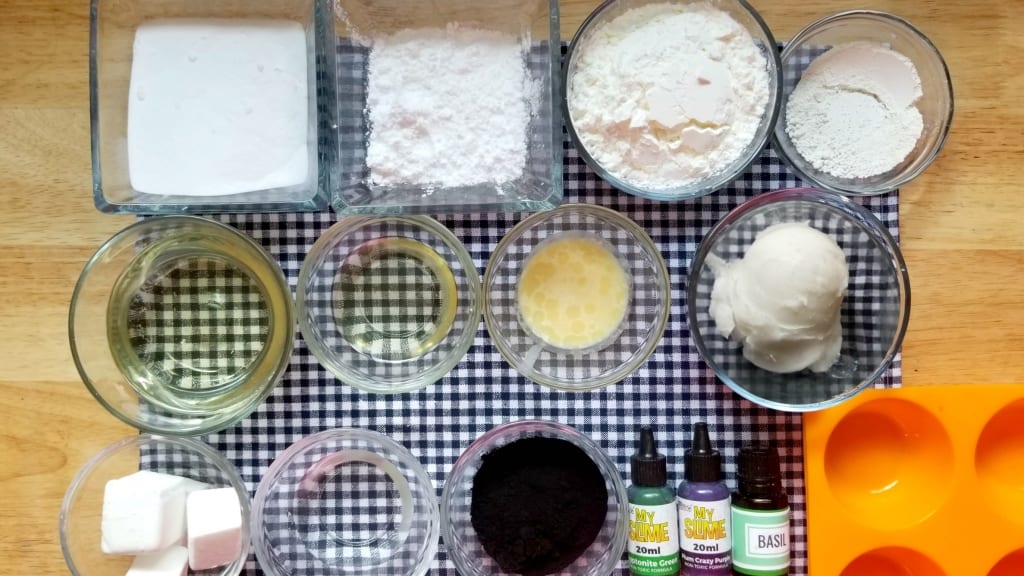
Maleficent Cupcake Bath Bombs Ingredients
- baking soda
- citric acid
- Cornstarch
- Kaolin clay
- coconut oil
- polysorbate 80
- Cocoa Butter
- basil essential oil
- activated charcoal
- whipped soap base
- white melt and pour soap base
- Purple and green colorant
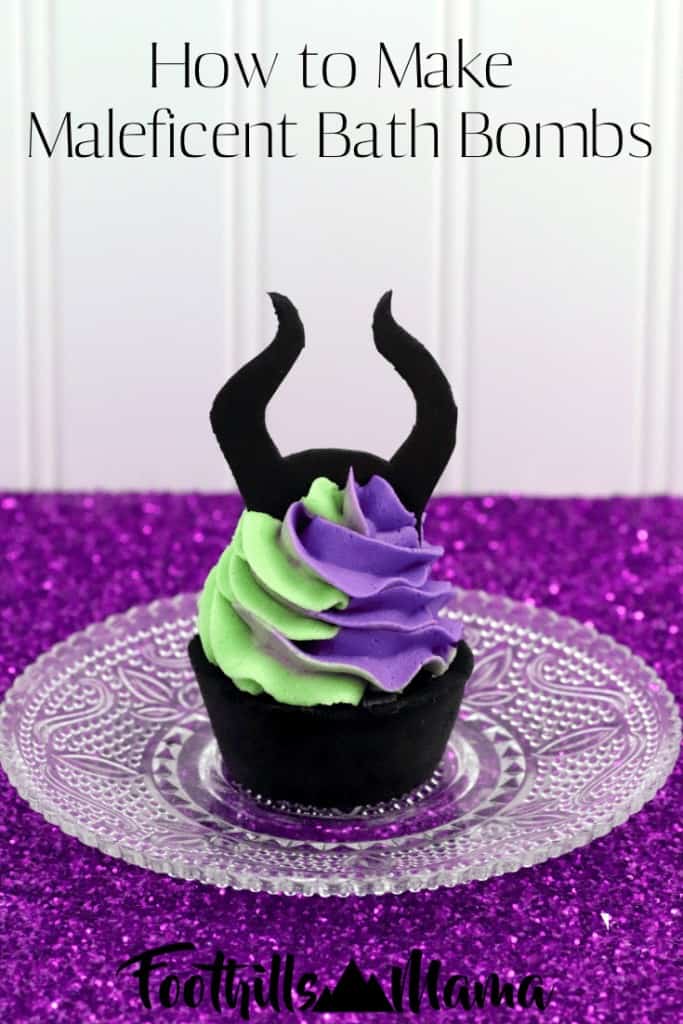
How to Make Maleficent Cupcake Bath Bombs
Follow these easy directions below to create these epic Halloween party favors.
For Cupcake Bath Bombs
In a large mixing bowl, add the baking soda, citric acid, cornstarch, and kaolin clay. [I use kaolin clay in bath bombs that use a mold that is not the typical round mold to give them more stability when you pop them from their mold.] Whisk dry ingredients together.
Add in 2/3 cup of the coconut oil. This binds all the ingredients together, so your bath bombs don’t crumble when you touch them! With bombs containing activated charcoal, I use 1/4 cup more than I would in other recipes.
Add polysorbate 80. This helps the coconut oil disperse more evenly in your bath water, makes the bath bombs bubbly and prevents the mica from sticking to the side of the tub.
Melt and add cocoa butter. Add in basil essential oil. Mix well. You may need to use your hands to break down any lumps and make sure everything is mixed in. The mixture is perfect when it holds together when you press it into your hands and feels like wet sand.
Add in 2 tablespoons of the activated charcoal (you may need more to make the mixture a true black as the base is white. When you add more charcoal, you will need to add 1-2 tablespoons of additional coconut oil or it will be too dry)
Add the mixture into each cavity of the muffin mold until the mixture is packed in firmly. Allow to dry a minimum of 24 hours. If these are not 100% dry, they will break when you take them out.
For Whipped Soap
Add whipped soap base, glycerin and polysorbate 80 to mixing bowl. Mix on low speed until fluffy, or about 1 minute. Fold in cornstarch. Mix on low for 30 seconds.
Melt your soap base in microwave-safe bowl in 30-second intervals, stirring after each until melted. Allow to cool for about a minute. Mix in melted melt and pour soap base and fold in cornstarch. Mix on high speed for 1 minute or until the mixture forms peaks, like when you make a meringue. If your frosting is not stiff enough, add a bit more cornstarch and mix in. Repeat until the mixture is nice and firm.
Divide whipped soap into 2 small mixing bowls. Add purple colorant to one bowl and green colorant to the last bowl. Start mixing in 1-2 drops of color. If you want a darker color, add 1-2 more drops and repeat until you get the color you want.
Add purple color frosting to one small piping bag and the green to another. Place large piping tip into a large piping bag. Insert the two small bags into the large bag.
Holding all three bags tightly in your dominant hand and pipe the frosting onto your cupcake bombs. After about 36 hours, the whipped soap will begin to harden. You can drop the bath bomb and soap in the bath together or use separately.
For horns
Download the horn template here and Print the template. I had to enlarge it just a bit, but if you make mini cupcake bombs, you may need to shrink it.
You have two options on this step. You can cut out the horns and using a pencil, you can trace onto the foam and then cut the foam. OR you can place the template on the foam and using an X-acto knife, cut out the horns.
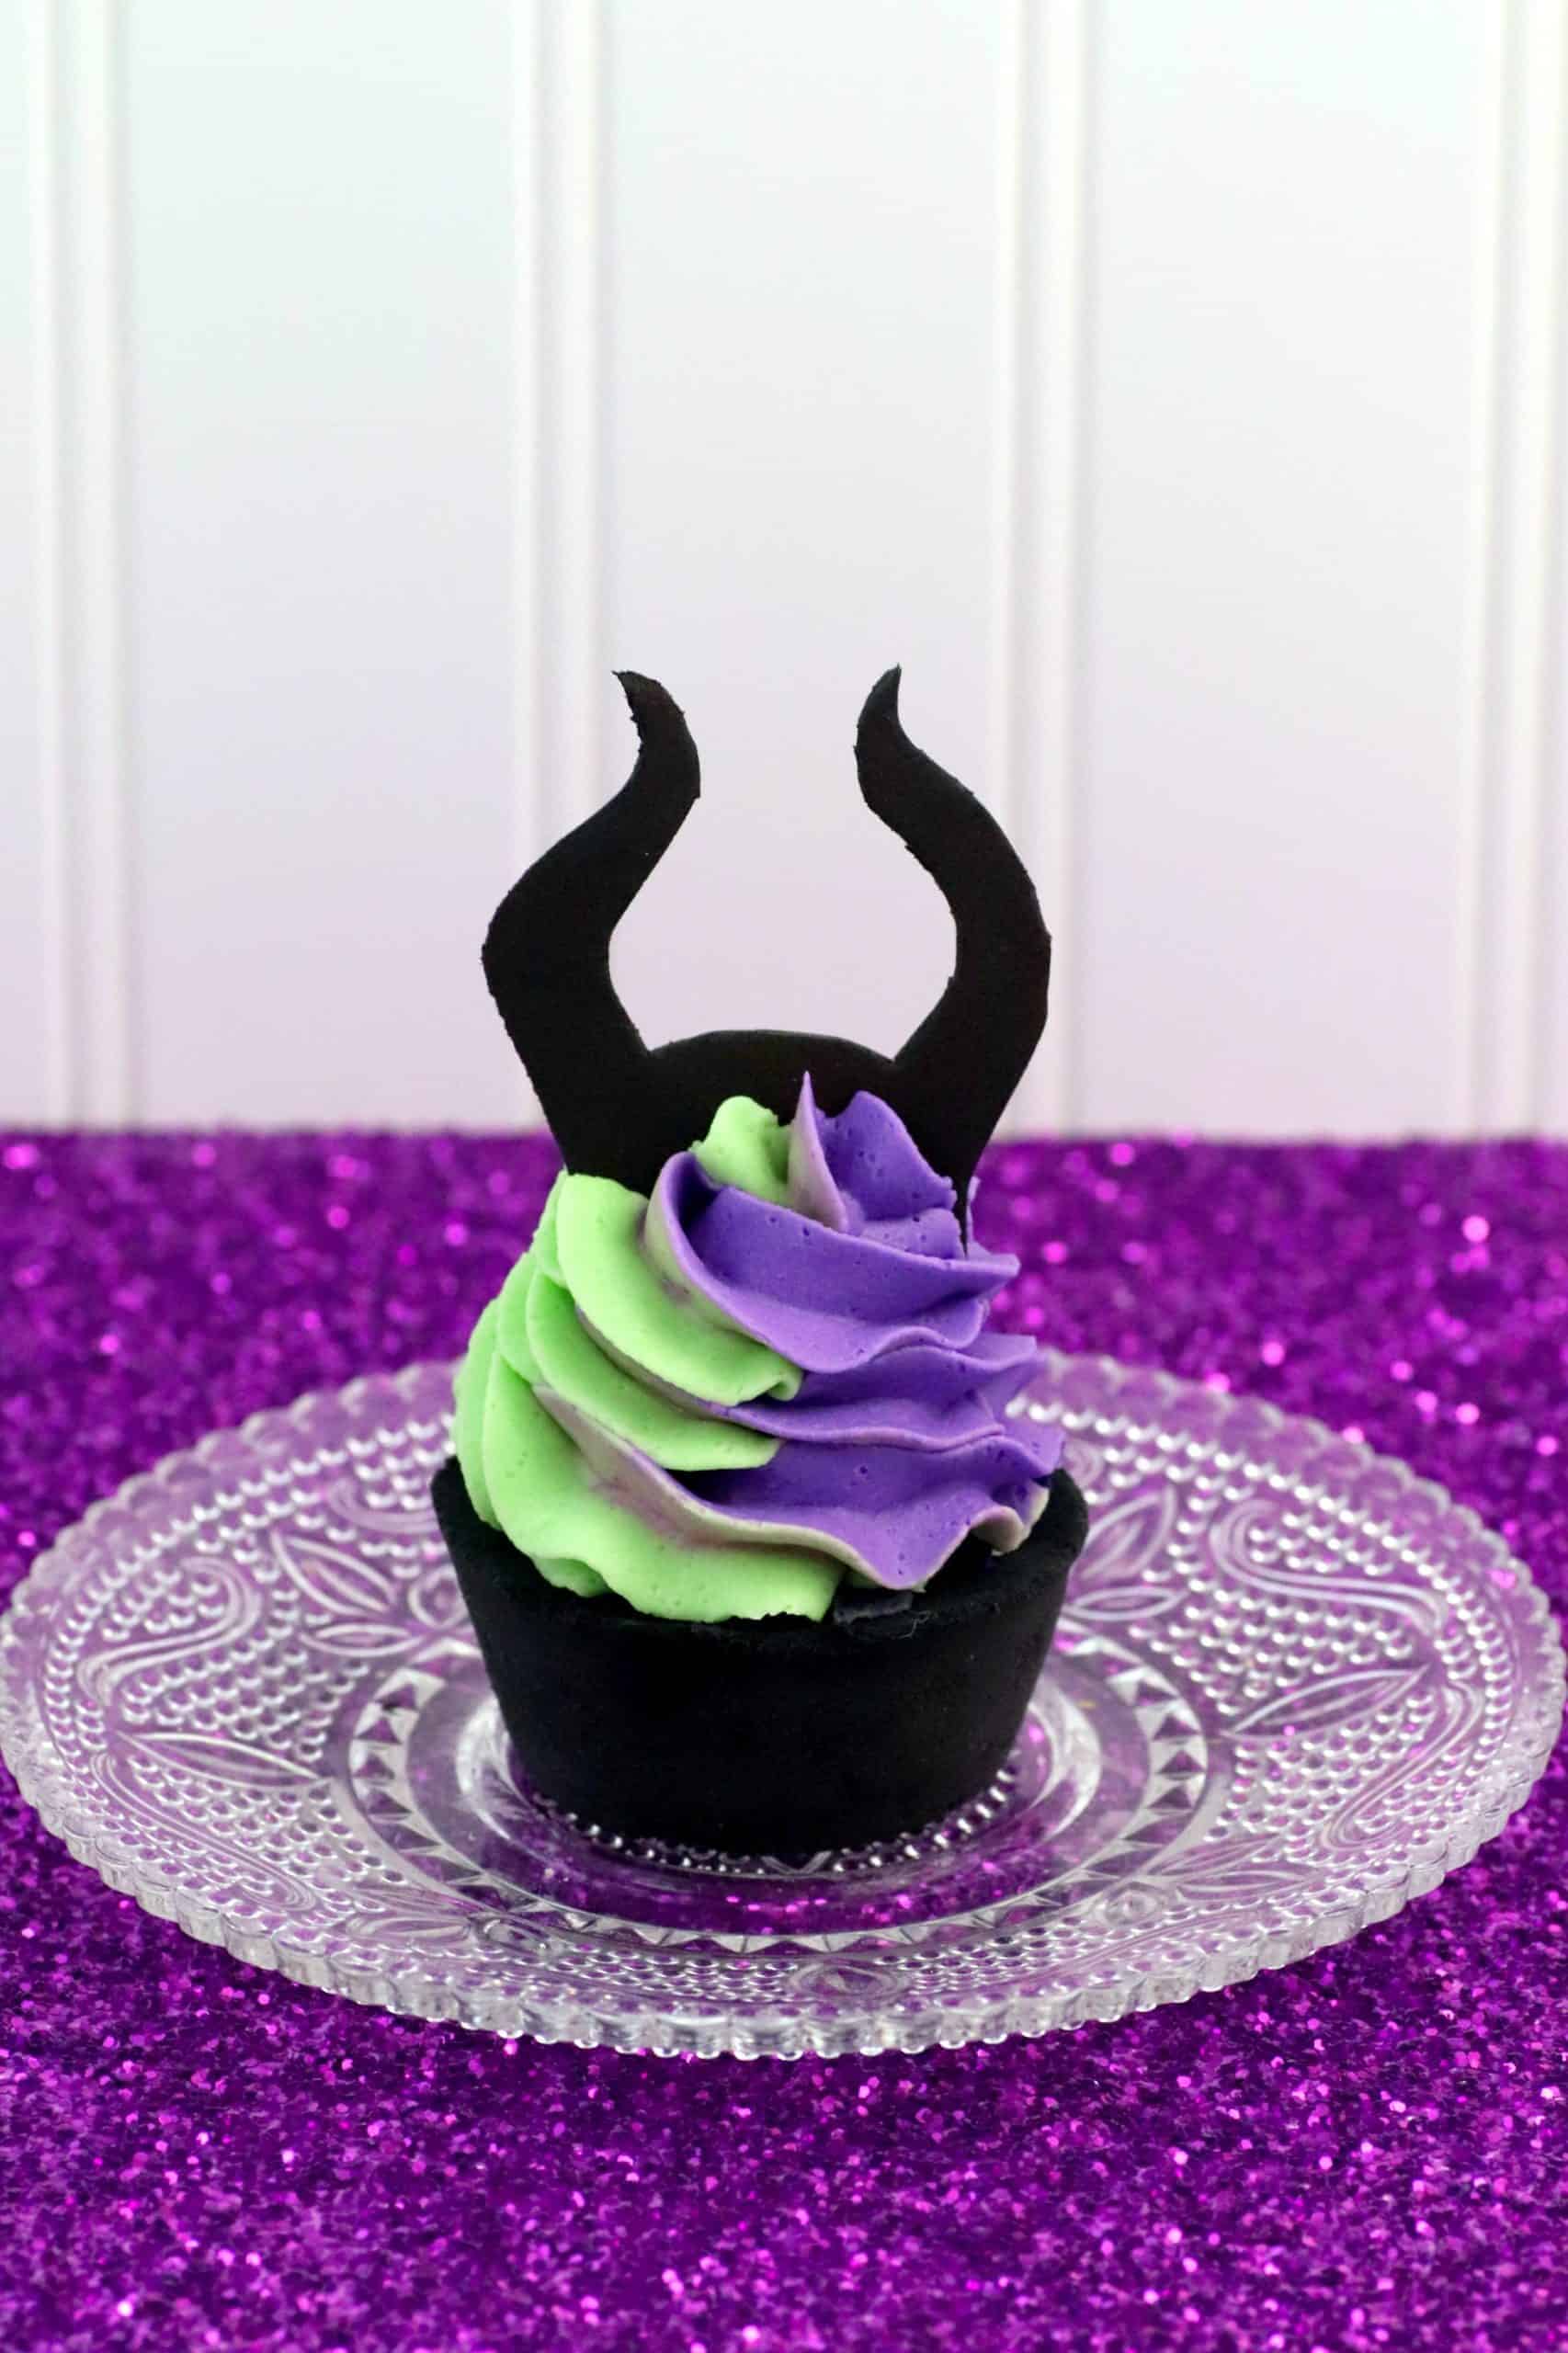
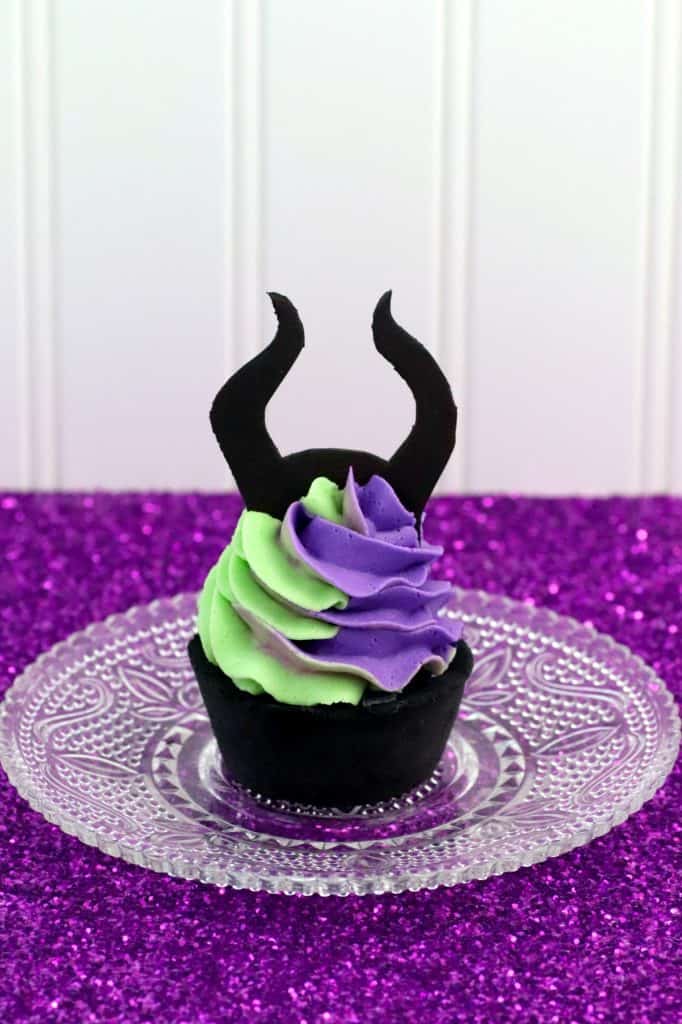
Place horns into frosting.
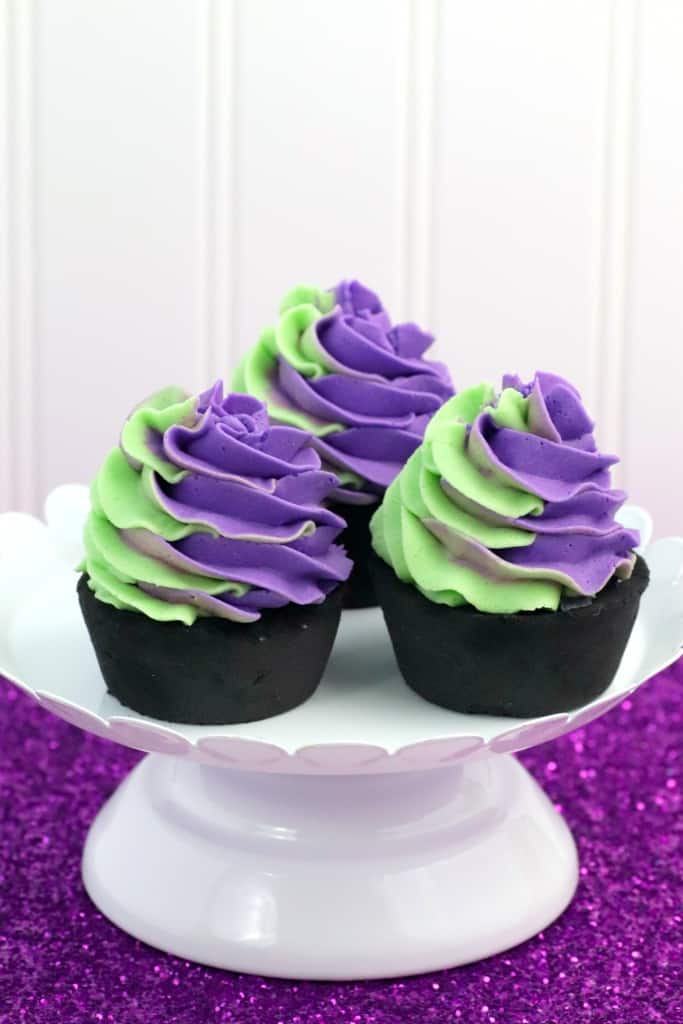
Maleficent Cupcake Bath Bombs
Equipment
- Piping kit
- 2 mixing bowls
- 2 small bowls
- Hand mixer or Stand Mixer
- Standard silicone muffin tin
- Spray bottle filled with rubbing alcohol
Ingredients
Bath Bombs
- 2 cups baking soda
- 1 cup citric acid
- ½ cup cornstarch
- 1/4 cup white Kaolin clay
- 2/3 cup coconut oil
- 1/4 cup cocoa butter
- 2 teaspoons polysorbate 80
- 10-20 drops basil essential oil
- 3-4 tablespoons activated charcoal
For Whipped Soap “Frosting”
- 3/4 cup whipped soap base
- 1 tablespoon glycerin
- 1 teaspoon polysorbate 80
- 1 tablespoon corn starch
- 1/4 cup clear or white melt and pour soap base
- 1 teaspoon green colorant
- 1 teaspoon purple colorant
Horns
- Thin black foam
- Scissors or X-acto knife
- No. 2 pencil
Instructions
For Cupcake Bath Bombs
- In a large mixing bowl, add the baking soda, citric acid, cornstarch, and kaolin clay. [I use kaolin clay in bath bombs that use a mold that is not the typical round mold to give them more stability when you pop them from their mold.] Whisk dry ingredients together.
- Add in 2/3 cup of the coconut oil. This binds all the ingredients together, so your bath bombs don’t crumble when you touch them! With bombs containing activated charcoal, I use 1/4 cup more than I would in other recipes.
- Add polysorbate 80. This helps the coconut oil disperse more evenly in your bath water, makes the bath bombs bubbly and prevents the mica from sticking to the side of the tub.
- Melt and add cocoa butter. Add in basil essential oil. Mix well. You may need to use your hands to break down any lumps and make sure everything is mixed in. The mixture is perfect when it holds together when you press it into your hands and feels like wet sand.
- Add in 2 tablespoons of the activated charcoal (you may need more to make the mixture a true black as the base is white. When you add more charcoal, you will need to add 1-2 tablespoons of additional coconut oil or it will be too dry)
- Add the mixture into each cavity of the muffin mold until the mixture is packed in firmly. Allow to dry a minimum of 24 hours. If these are not 100% dry, they will break when you take them out.
For Whipped Soap
- Add whipped soap base, glycerin and polysorbate 80 to mixing bowl. Mix on low speed until fluffy, or about 1 minute. Fold in cornstarch. Mix on low for 30 seconds.
- Melt your soap base in microwave-safe bowl in 30-second intervals, stirring after each until melted. Allow to cool for about a minute. Mix in melted melt and pour soap base and fold in cornstarch. Mix on high speed for 1 minute or until the mixture forms peaks, like when you make a meringue. If your frosting is not stiff enough, add a bit more cornstarch and mix in. Repeat until the mixture is nice and firm.
- Divide whipped soap into 2 small mixing bowls. Add purple colorant to one bowl and green colorant to the last bowl. Start mixing in 1-2 drops of color. If you want a darker color, add 1-2 more drops and repeat until you get the color you want.
- Add purple color frosting to one small piping bag and the green to another. Place large piping tip into a large piping bag. Insert the two small bags into the large bag.
- Holding all three bags tightly in your dominant hand and pipe the frosting onto your cupcake bombs. After about 36 hours, the whipped soap will begin to harden. You can drop the bath bomb and soap in the bath together or use separately.
For horns
- Print the template. I had to enlarge it just a bit, but if you make mini cupcake bombs, you may need to shrink it
- You have two options on this step. You can cut out the horns and using a pencil, you can trace onto the foam and then cut the foam. OR you can place the template on the foam and using an X-acto knife, cut out the horns.
- Place horns into frosting

Angela Milnes says
THESE ARE SUPER COOL! i THINK MY DAUGHTER WOULD LOVE TO MAKE A DISNEY THEMED BATHBOMB! hOW COOL! tHANKS FOR SHARING THIS FANTASTIC Halloween RECIPE!